Flat roof leak detection in Nashville
The stain is in the break room, but the roof above it looks fine and two patch jobs haven't stopped the drip. We trace the real entry point with a method that suits your membrane, so the next repair goes where the water actually enters.
- Method matched to membrane
- Written leak map
- Answered 24/7
Short answer
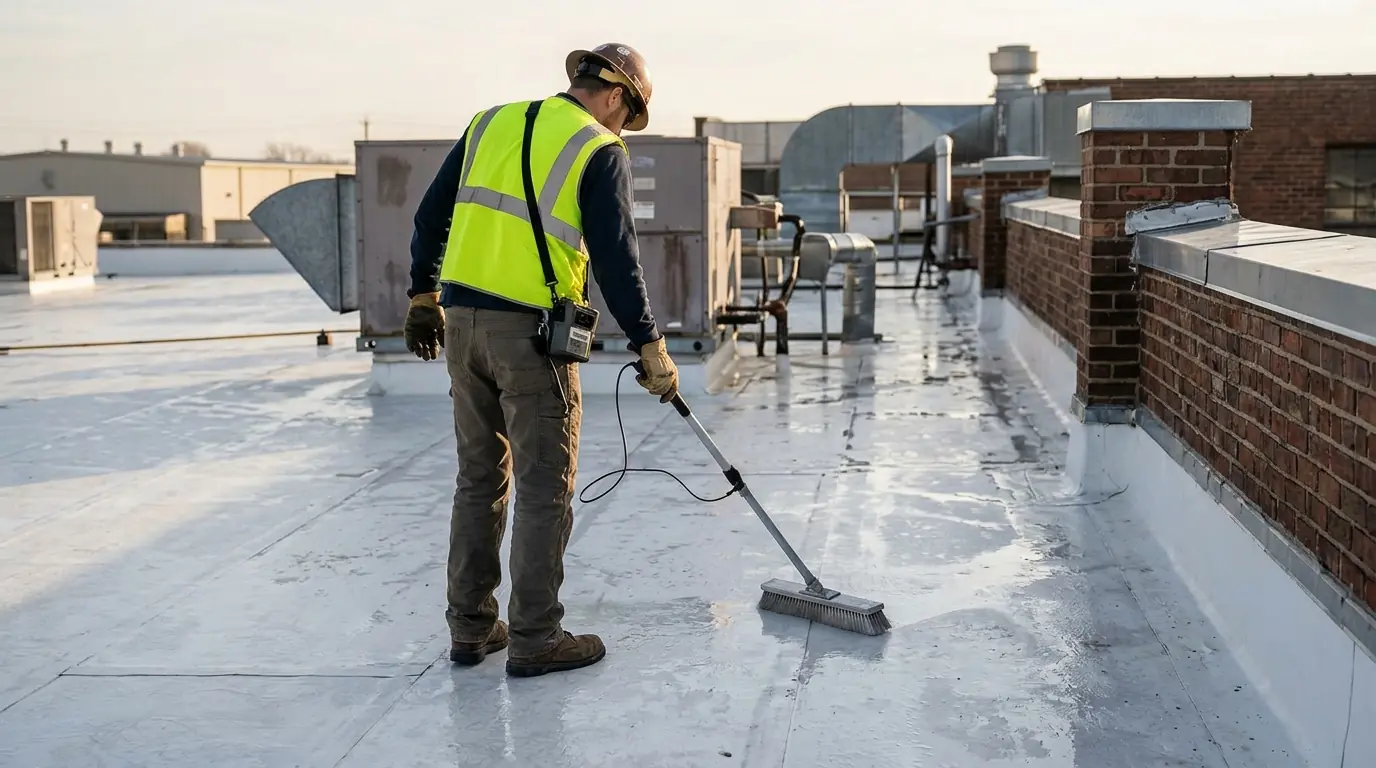
Roof leak detection is the process of finding the exact point where water enters a flat roof, which is often far from the interior stain. Methods include visual survey, moisture probes, infrared scanning, controlled flood testing and electronic leak detection. The right method depends on membrane type, deck material and how wet the system already is.
Why the stain is almost never under the leak
On a low-slope roof, water doesn't drop straight down. It enters through a seam or flashing, then travels along the top of the deck, through insulation board joints or down a steel flute until it finds a place to drip. A stain by the east wall can come from a failed pipe boot thirty feet west. Patching above the stain is the most common reason leaks return.
Detection is about following that path backward. We combine what you tell us about when the leak shows up, what the roof is built from, and what the surface looks like. Then we choose a test that fits. Some leaks yield to a careful walk and a probe. Others, especially under ballast or pavers, need electronics or water. We never guess at a location and bill you for a patch there. If the test doesn't point to one spot, we say so and recommend the next method.
Roof area matters too. A 6,000 square foot flat roof over a dental office may have eight penetrations and one drain. A 90,000 square foot distribution building near the Nashville airport can have a great many details and a dozen drains. Larger roofs call for scanning first and probing second, because walking every inch looking for a pinhole wastes a day.
Clues that tell us where to start looking
Before any equipment comes out, patterns in the leak history narrow the search considerably.
Leaks only in heavy, wind-driven rain
That points to a vertical surface: wall flashing, counterflashing or a parapet joint, rather than the field of the roof.
Leaks that show up a day after rain
Water is moving slowly through insulation or along the deck. The entry may be far upslope from the interior drip.
Drips in the same spot after every storm
A single repeat location often means a drain, scupper or penetration sits above or upslope of it.
Leaks after snowmelt only
Freeze-thaw cycles open small cracks in coatings and seams. Ice damming behind parapets can force water under flashing.
Several small stains in a row
A line of stains often follows a steel deck flute or a failed seam running across the roof.
Leaks that began after rooftop work
New equipment, cable runs or antenna installs often leave punctures or disturbed flashings near the work area.
Leaks that follow a mechanical schedule
Drips that appear when a rooftop unit's condensate runs, not when it rains, point to a drain line or pan, not the membrane.
Which leak detection method fits which roof
No single test works on every roof. Here is how the four methods we use differ in what they find and where they fall short.
| Infrared scan | Electronic leak detection | Flood test | Probe and core | |
|---|---|---|---|---|
| What it finds | Wet insulation patterns | Exact membrane breaches | Leaks in a defined zone | Moisture at chosen points |
| Works best on | Dark or ballasted roofs after a warm day | Insulating membranes like TPO, PVC, EPDM | Isolated areas with sound decks | Any membrane |
| Main limit | Doesn't pinpoint the hole | Needs a conductive path under the membrane | Adds load; needs a dam and time | Small sample size |
| Typical time on site | Half a day, mostly at dusk | Half a day to a day | 24 to 48 hours of ponding | One to three hours |
| Weather needs | Clear evening, warm day before | Dry membrane or controlled wetting | No freezing, no storm risk | Dry enough to cut safely |

How we trace a leak from interior stain to roof opening
We work from the inside out, then the roof back toward the stain, and only test once we have a short list of suspects.
Interior survey
We photograph every stain, check the ceiling plenum and note how far each one sits from walls, columns and drains. Ceiling tile staining often shows the direction the water traveled.
Roof plan and system ID
We confirm membrane type, attachment method, insulation and deck, because the test choice depends on all four.
Visual walk
Every seam, penetration, drain and edge detail gets a close look, with probes and a flashlight along suspect laps.
Select the test
We pick infrared, electronic mapping, a controlled flood test or a core cut depending on what the walk showed.
Run the test
We mark each finding on a roof plan with paint or flags so the result is visible on site, not just on paper.
Confirm with a second method
A suspected breach is verified with a probe or a small water test before we call it the source.
Report and repair plan
You receive the leak map, photos and a repair scope with a price range, whether we do the work or not.
Leak scenarios that call for different tools
A ballasted EPDM roof on a warehouse near Nolensville Pike is hard to read by eye because gravel covers everything. Infrared at dusk can show warm, wet insulation, but it won't show the hole. Once we know the wet zone, we pull back ballast in that area, vacuum the membrane and look for a split at a seam or a worn spot under a rooftop unit stand.
A fully adhered TPO roof on a medical office off West End Ave is a different case. The membrane is insulating, which suits electronic leak detection well when the deck below is conductive or the surface can be lightly wetted. The tool reads electrical breaks and points to pinholes that the eye would never catch. On a roof with a coating over the membrane, results vary, so we say so up front rather than promising a clean read.
A mod-bit roof on a church often leaks at laps and the base of parapet walls. There, a careful visual survey and probe along the base flashing usually finds the failure faster than any machine. We use the lowest-cost reliable method first and escalate only when needed. On a standing-seam metal roof the same logic applies: we check panel seams, clip areas and the base of each penetration before running anything else, because a loose fastener head or a failed butyl strip is common and cheap to confirm.
What leak detection costs on a commercial flat roof
Pricing depends on roof area, access and how many tests the building needs. We quote after a site visit, and the written leak map stays yours whether or not we do the repair.
| Work | Typical range | What moves it |
|---|---|---|
| Visual survey with moisture probing | $385 to $890 per roof | Good for small roofs with a likely suspect, such as a recent penetration. |
| Infrared moisture scan with report | $0.14 to $0.31 per sq ft | Priced by area, with a minimum visit fee on smaller roofs. |
| Electronic leak detection | $0.42 to $0.88 per sq ft | Depends on membrane type, drain layout and how the surface can be wetted. |
| Controlled flood test of a zone | $640 to $1,780 per zone | Includes damming, water, monitoring and drain-down; longer holds cost more. |
What pushes a price up or down:
- Total roof area and number of separate roof levels.
- Ballast or pavers that have to be moved before testing.
- Whether the building has a conductive deck or grounded path.
- Access: roof hatch, stair tower, lift or crane.
- Weather windows, since infrared and flood tests need specific conditions.
- Occupancy below, which affects how water testing is controlled.
Ranges reflect recent Middle Tennessee work and are not a quote; we price after a site visit. See the full Budget Guide.
Prepare the building so a leak test gives a clear answer
A few preparations before we arrive make results faster and more reliable.
- Send roof plans, past repair records and any prior leak reports.
- Mark the interior stains with tape and the date each one first appeared.
- Clear the roof of recent debris and loose gravel near drains.
- Let us know if tenants are working below, so we can protect their space.
- Confirm which drains and scuppers are working, and which are known to clog.
- Tell us about roof work done in the past two years, including cable and equipment installs.
- Arrange access to the ceiling plenum over the stained areas.
A leak map is worth more than a quick patch
Facility managers often describe paying for three patches on the same roof before anyone found the real entry. The expensive part isn't the patching. It's the repeated service calls, the interior repairs and the wet insulation that never dries. A leak map with photos and flags gives you a record to compare against after the next storm, and a repair scope you can price against other bids on equal terms. Call (615) 716-3057 and we'll start with the history.
Need roof leak detection on a Nashville building?
Call (615) 716-3057 any hour. We look at the roof, show you what we found and price the work before anything starts.
Where we do roof leak detection around Nashville
The ZIP codes below cover most of the buildings we work on. Every one links to its local page, and the full locations list has 62 more.
- Nashville 37219
- Downtown Nashville 37219
- East Nashville 37206
- Antioch 37013
- Madison 37115
- Donelson 37214
- Hermitage 37076
- Bellevue 37221
- Green Hills 37215
- Franklin 37064
- Brentwood 37027
- Murfreesboro 37130
- Smyrna 37167
- La Vergne 37086
- Mount Juliet 37122
- Lebanon 37087
- Hendersonville 37075
- Gallatin 37066
- Spring Hill 37174
- Columbia 38401
- Goodlettsville 37072
Work that often goes with roof leak detection
Membranes, coatings and metal we work on every week include Versico, Duro-Last, Elevate and Gaco, plus older systems still in service.
Roof Leak Detection questions from Nashville owners
How do you find a roof leak on a ballasted flat roof in Nashville?
We start with an infrared scan at dusk to show wet insulation, then move ballast in those zones and inspect the membrane for splits, worn spots and lifted seams. A probe or small water test then confirms the source. Gravel hides problems, so we map before moving anything.
Can electronic leak detection work on any roof?
No. It works best on insulating membranes like TPO, PVC and EPDM, and it needs a conductive path under the membrane or a surface wet enough to complete the circuit. Over metal decks it can be quite reliable. Over some insulations or coatings, another method may be the better choice.
Is a flood test safe for my building?
It can be, when the deck is sound and the zone is small. We calculate the water depth against the structure, dam drains carefully and watch the area throughout. We don't flood roofs with unknown structural condition, and we won't run the test if freezing weather is possible.
How long does roof leak detection take?
A visual survey with probing takes one to three hours. Infrared scans are scheduled around sunset and take about half a day. Electronic mapping runs half a day to a full day, and flood tests hold water for 24 to 48 hours before we read the result.
Do you provide a report I can give to my insurer or owner?
Yes. We deliver a leak map with photos, a description of the method used and a repair scope with a price range. Many property managers use this to compare repair against replacement, support an insurance claim or brief ownership on capital needs.